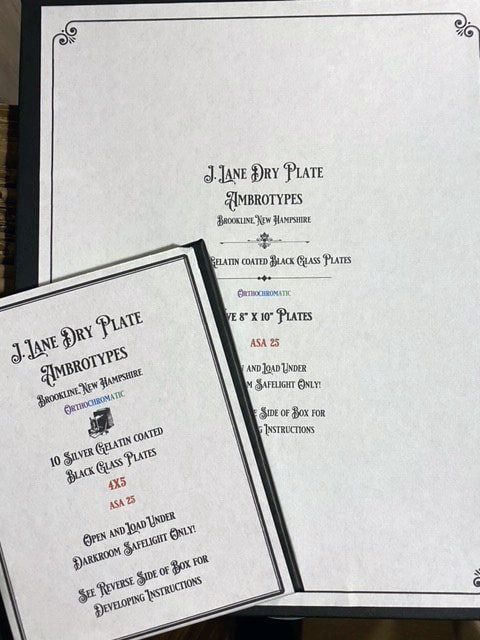


Dry Plate Ambrotypes
In the 1870s and 1880s, silver gelatin based photography was still a new and unfamiliar process to the professional wet plate and tintype photographers. To bridge the gap between the positive collodion-based processes and the new silver-gelatin based processes, a hybrid positive process appeared briefly on the scene. Similar to collodion-based ambrotypes, silver gelatin based emulsion is coated onto black glass and developed to a positive.
Resulting from a visit down to New55's facilities, it was noted that developing J Lane Dry Plates in Famous Format No. 1 Monobath resulted in a very lightly-toned off-white towards yellow silver grain.
Developer research by Lee Lira resulted in a formula providing a more pleasing off-white or near-white highlights. This formula was made available to the public domain via the Dry Plate Photographers facebook group. There are likely other combinations of active reduction developers and complexing agents that will provide similar results with different contrast characteristics. Experimentation and sharing of results is encouraged.
While the intent is not to replicate collodion-based tintypes, the process allows one to produce an ambrotype (a directly-exposed positive image on glass) while metering at significantly faster exposure speeds (ASA 2 - 25 depending on lighting conditions).
Basic Instructions
Load in complete darkness or dim deep red safelight only! Safelights that are ok for paper will usually fog these plates. 7W bulb in a safelight with a Kodak 1A or GBX2 filter at distance greater than 4 feet as a starting point allows ~10 minute handling time.
Metering
For outdoor photography, meter at ASA 25, adjusted per time of day / time of year guidance on Technicals and Tips page.
For Strobe / Studio lighting, add 3 1/2 stops compensation as a starting point.
Development
To develop, use the Lee #6 developer formula below, or use ready-to-mix development kit listed here.
Mix each ingredient in order. Mix thoroughly before adding the next. Mix as follows:
To 375 mL of water at 40 C:
1g Metol
35g Sodium Sulfite - NOT Sodium Sulfate
3.5g Hydroquinone
22g Sodium Carbonate (anhydrous)
2g Potassium Bromide
24g Ammonium Thiocyanate
Chemicals are available from your favorite bulk photographic chemical supply store.
Top off with cold water to 500mL. This is Stock Solution
Dilute 1:1 for use. Developer is good for approximately (depending on the image):
4x5: 3 Boxes (30 Plates)
5x7: 1 Box (10 Plates)
8x10: 2 Boxes (10 Plates)
Develop under Dim red safelight ONLY!
Image forms in the fixer. You won't see anything but the faintest hint of highlights in the developer or stop baths (think light-colored image on light-colored emulsion under safelight).
Follow these instructions *precisely*!
Tray develop at 18-20°C for 1.5 minutes using the following agitation scheme:
- Agitate 45 seconds
- Rest for 15 seconds
- Agitate 15 seconds
- Lift plate and drain at 1:20, i.e. when 10 seconds left to go on timer.
- Place in stop bath when timer ends.
Acid Stop bath for 30 seconds.
Rapid Fix for 4 minutes.
Developer shows signs of exhaustion when development at 1.5 minutes shows noticeably bluer tones in the image. In this case, increase development time by 15-20 seconds for the next 1 or 2 plates, then mix fresh developer.
Emulsion will be very fragile, so handle by the edges or back of the plate only.
After development, rinse in distilled water at 15-21C for 10 minutes. If distilled water is not available, rinse in tap water with final 1 minute rinse in Photo Flo or equivalent solution (mixed according to Photo Flo instructions).
No post-development protective treatment required (i.e. varnishing like what you'd need to do for a collodion ambrotype). Handle as you would any silver gelatin negative or dry plate. While hardened, the silver gelatin emulsion layer is softer than modern films and more prone to scratches.
4x5 and 5x7 plates are 1.5mm thick.
8x10 plates are 1.8mm thick.
11x14 plates are 2.3mm thick.